*
276°
Posted 20 hours ago
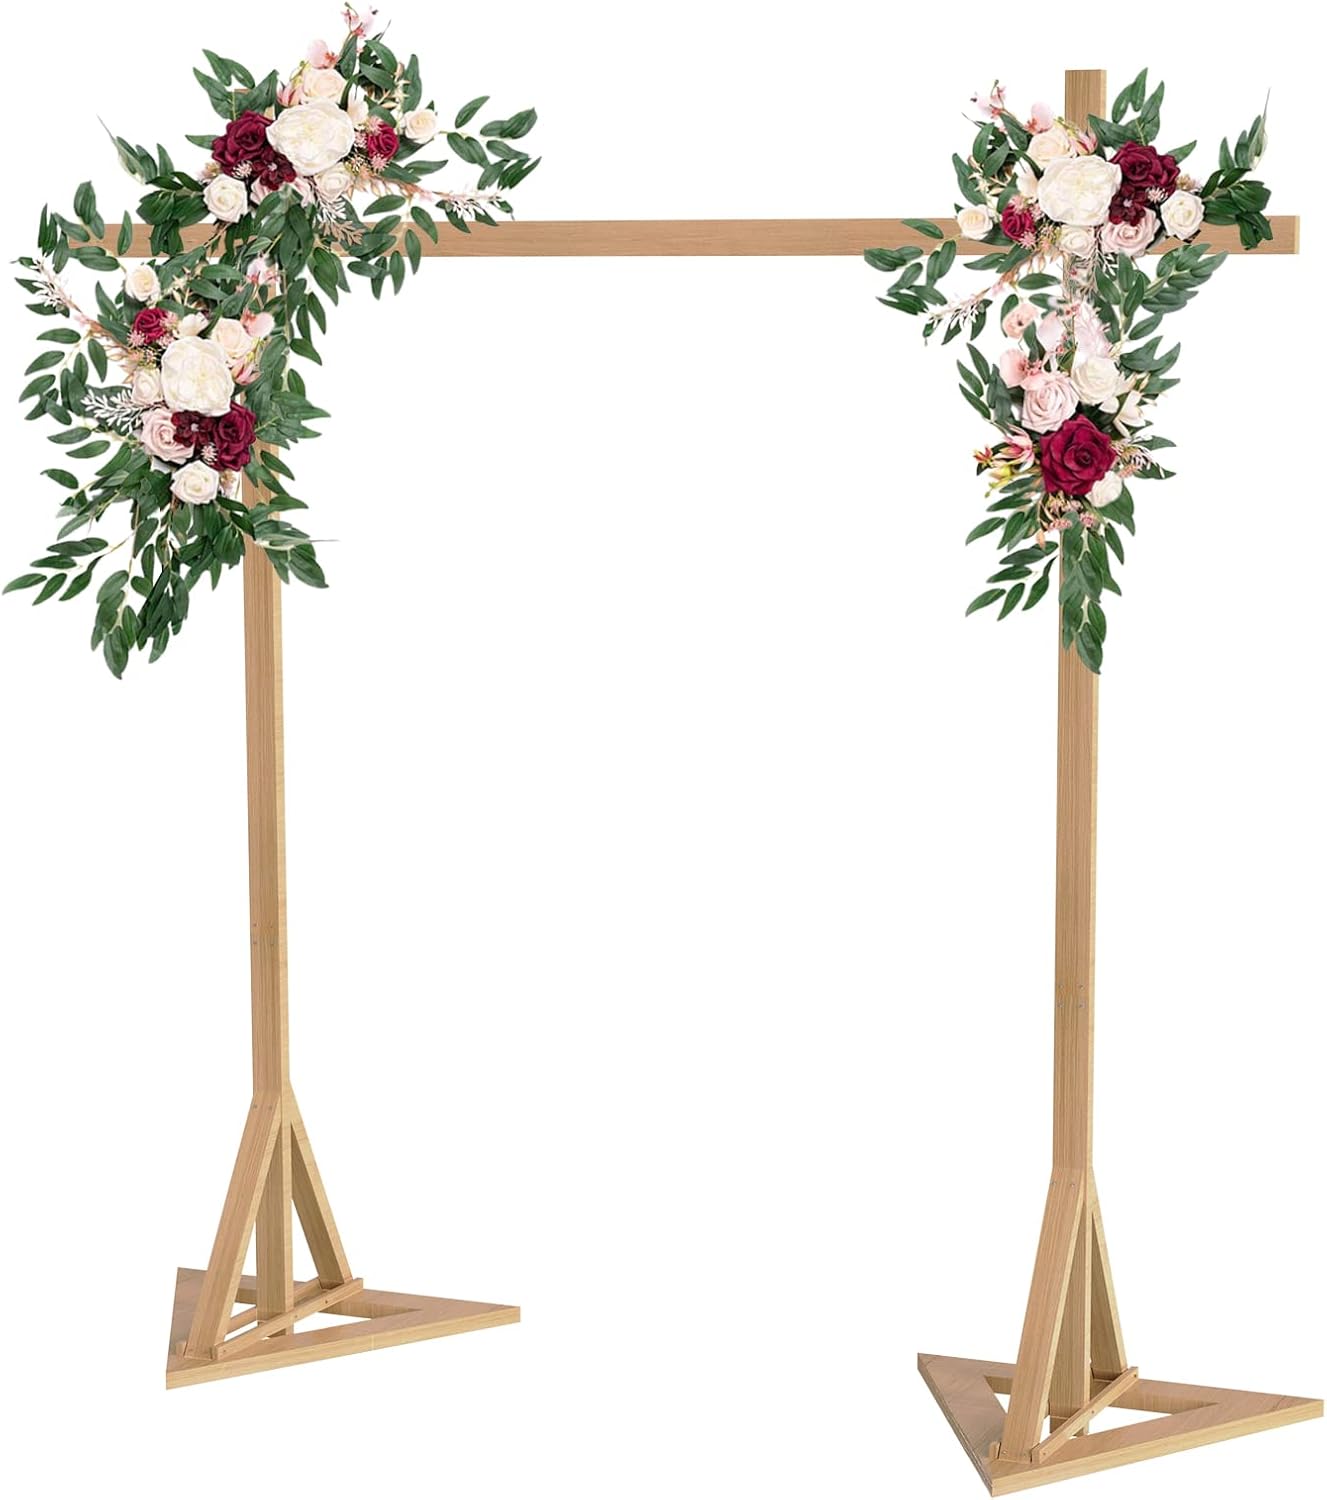
Wood Wedding Backdrop Stand Large:10x10ft Garden Wooden Arch Flowers Frame Stand Wedding Ceremony Background Stand for Birthday,Party,Anniversary,Bridal Shower,Christmas,Photo Background Decoration
Shared by  Joined in 2023
  82
82  63
63
